Failed Marlborough Bra
After the success of my last Marlborough bra, I decided to use the same size on a new set of materials. The last bra I made used fairly stretchy fabrics, which should have been warning sign #1. I ended up just ignoring that fact, though, and moving on with using stable fabrics for this version.
I used a kit from Grey’s fabrics for this version, which I picked up in Boston last January. The materials are fairly high quality, and I love the wintry black/grey/ice blue color combination. The amount of fabric and elastic provided with this kit is generous – I almost had enough fabric left over for a second bra!

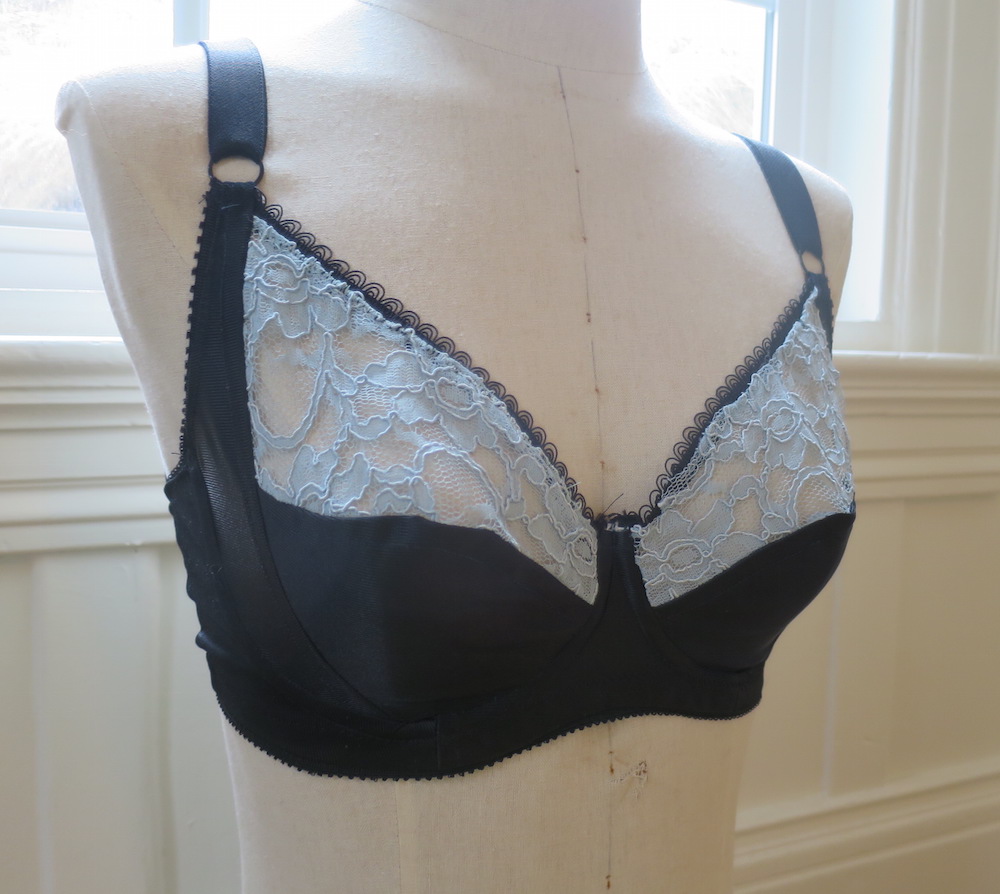
I was so disappointed when this ended up fitting poorly. The cups are a little too small, which is fine, but the single piece lower cup and the shape of the power bar just doesn’t work. Both the lower cup and the power bar flatten out my bust, which results in a really odd silhouette. I think splitting the lower cup and adding a bit of volume there would help the fit, but I’m not really excited about doing that right now. This tutorial is pretty easy to follow along for this change, though.
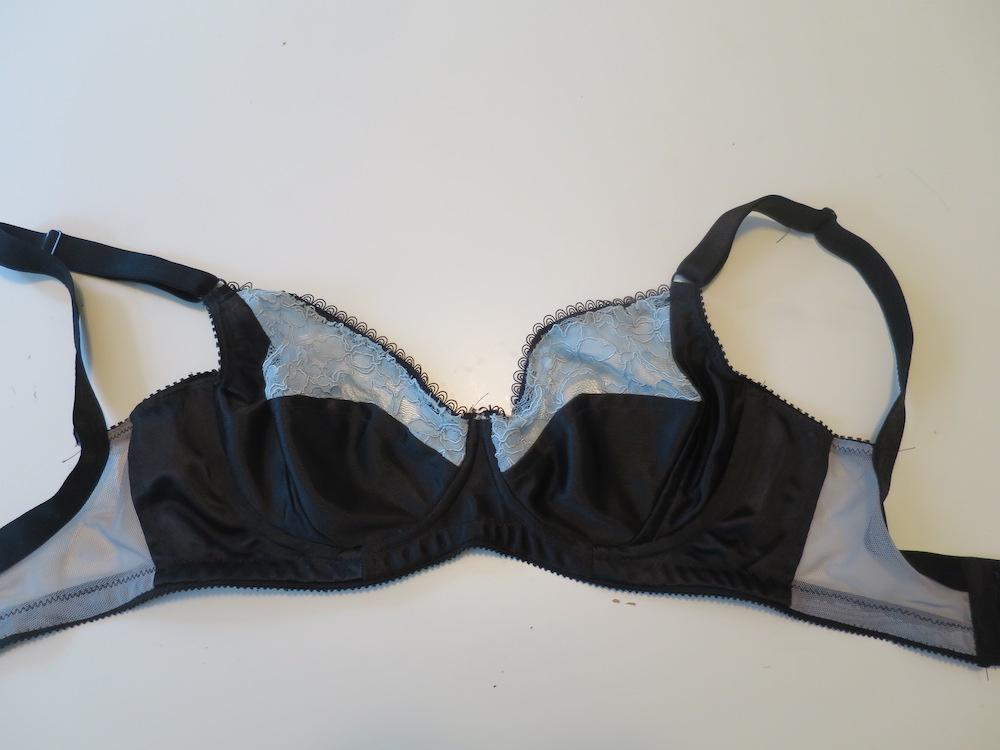
This is one of the neatest/most difficult things I’ve made, though. All of the fiddly 1/4" seams! The underwire channeling lines up perfectly, all the topstitching is even, and even the lace motifs are mirrored.

I’m kind of heartbroken it doesn’t fit me, but hey, fitting bras is hard. You can’t test how a bra will fit until you’re done with the entire thing, since the fit is so dependent on the materials and elastics, and how all the parts play together. For the second bra I’ve ever made, I’m really happy with how much I’ve improved, and with how much faster I’ve gotten at this. I also know what fitting adjustments I need to make, which feels like progress!
The bra fits a friend fairly well, so it’s not going to waste. :)
Fabric // Grey’s Fabrics' bra kits
Pattern // Marlborough bra by Orange Lingerie
Sizing & Adjustments // 32DD, no adjustments